

1: 'Create New Project' > Select 'Java' > Choose your installed Java as 'Project SDK' > Next

2: Mark 'Create project from template' > Choose 'Command Line App' > Next

3: Give you project a name, any name you want and choose a project destination folder > FinishOften, beginning Java developers struggle with the question 'what project is next?'. In this fun guide you will build a mp3-archiving project from scratch, learning a whole lot of things along they way about Core Java, JDBC, servlets and much more!
Introduction
You just might have finished reading "Head First Java". Or, you might have a pretty firm grasp of core Java, but so far you only focused on one specific technology like Swing. Or, you might be coming from a different programming language, like PHP or Python and want to get your feet wet with Java.
In all cases, the question often is "What should I learn next?".
I think it’s best to do a real-life, practical programming exercise that’s fun, useful and that doesn’t bombard you with too many details or libraries. (Patterns, Architecture, TDD, Maven, Spring, Docker, Scrum, errr… ).
That’s what this guide is all about.
What you will learn
Let’s not beat around the bush. After finishing this guide, you’ll be able to create a small Java application (from scratch), which will :
-
read in a directory of your harddrive and scan it for .mp3 files (learn core java skills / files access)
-
analyze the files for their title, band, year metadata (lean how to use external Java libraries)
-
save that metadata to a database (learn how to use JDBC)
-
and then finally open up a webbrowser (learn some more core java)
-
and display the saved data as a HTML page (learn about servlets)
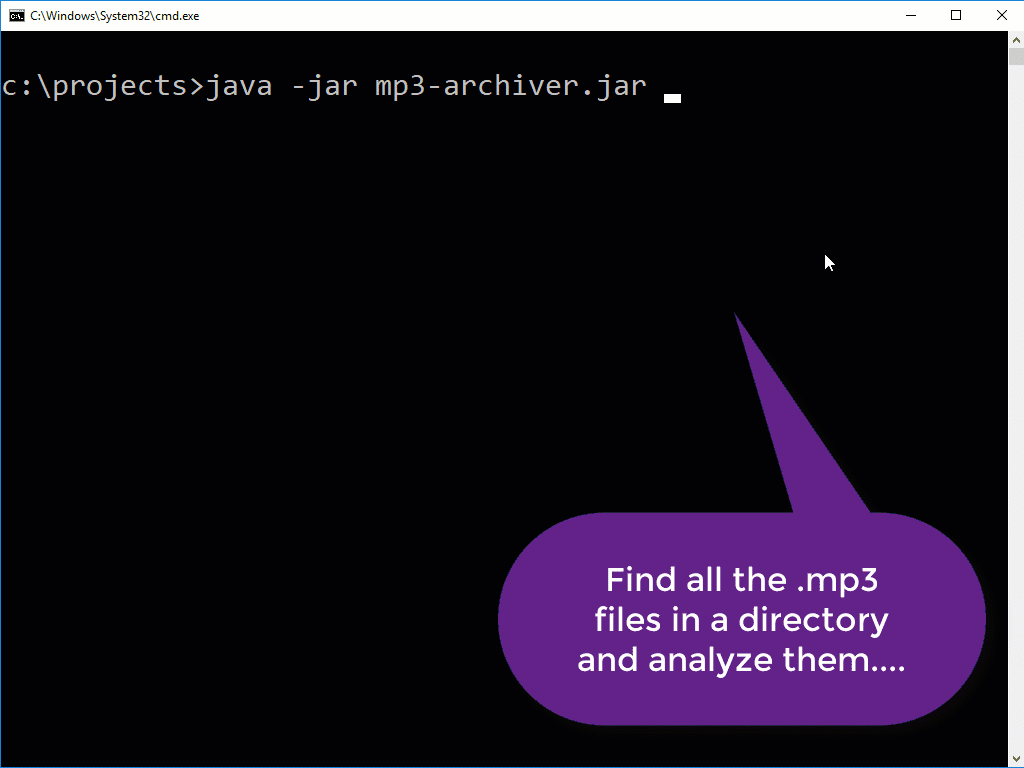
Wooha! And as images speak more than thousand words, see the resulting program in action (and yes, there’s a couple of German songs in that gif )
(TV Ad) But wait, there’s more!
In this learning path you will solve all the problems with simple, but modern Java tools.
In later parts, you will then build upon what you learned in this learning path, and exchange certain parts of it with more complex tools. (Think TDD, Maven, Spring, Hibernate).
But fear not, for now we slow down and everything will be dead simple!
(TV Ad 2) There’s even more!
And if you want some more hand-holding and want to have a closer look at how a professional programmer codes this exercise in real life, with all the keyboard shortcuts etc. I have a screencast version of this guide here.
Project Setup
Prerequisites
To finish this learning path, you’ll need:
-
A good understanding of the basics of Java, or any other programming language for that matter
-
Install a recent Java JDK (Versions 10, 9, 1.8, 1.7 will all do)
-
Install the free and fantastic IntelliJ Community Edition
-
You’ll need a directory on your hard disk with some .mp3 files. At least one.
That’s it!
Create a new Java project
Sometimes people get stuck when having to create a Java project from scratch. Should they chose their IDE to create that project? Maven ? Gradle? Clone some template online? You’ll use IntelliJ to create a blank Java project.
After starting up IntelliJ Community Edition do the following:
Voila, you have a blank project directory, with a src folder to put your Java files inside.
(In future parts of this guide, you’ll learn how to do this with Maven or Gradle and also learn WHY you might want to do this).
Implementation
General Approach
I want you to create one Java class, with one main method and put it inside the src folder of the project. You can also put it inside a package of your liking, like com.marcobehler.
And contrary to a more advanced approach, I want you to put all the code you write inside that class for now, even other classes.
Won’t win you prizes for the best design patterns or architecture, but will get stuff done. You’ll be able to improve on the architecture and design in the future.
In the end you should have come up with a file likes this (original name, huh?):
public class Main {

    public static void main(String[] args) throws Exception {

    }

}
Now it’s time to refer back to the bullet point list above, and tackle each individual item, one-by-one. Feel free to take a break after each bullet point, step back and continue the exercise the next day. Don’t worry, as long as you finish off the items sequentially, there won’t be a problem.
1. Validating User Input
First, think about how your program is going to be called by the end user. You are going to have something like this:
java -jar yourprogram.jar c:\mp3sSo there’s going to be one argument to your program, that’s the directory which has your mp3 files. The arguments get passed into your main method, where you can easily access them:
public static void main(String[] args) throws Exception {To sum things up, you need to make sure that whoever uses your little jar file a) specifies that directory and b) that it is a valid, existing directory.
What’s more, Java has basically 2 File APIs. The "old" API, from the very beginning of Java, which centers around java.io.File class. Since Java 1.7, there’s also the new java.nio.Paths API, which offers some improvements.
I want you to use the Paths API, to turn the String into a Path. And then to check if the Path does indeed exist. If not, you throw an IllegalArgumentException with a sensible error message. And if you are unsure about how to work with files in Java, you can always watch this series.
Give that a go now, run your program multiple times manually to check that your validations work and only THEN check out the solution:
    public static void main(String[] args) throws Exception {

        // Step 1 : Check Program Input

        if (args.length != 1) {
            throw new IllegalArgumentException("You need to specify a valid mp3 directory");
        }

        String directory = args[0];
        Path mp3Directory = Paths.get(directory);

        if (!Files.exists(mp3Directory)) {
            throw new IllegalArgumentException("The specified directory does not exist : " + mp3Directory);
        }
2. Reading in directories & files
On to the next challenge: You need to read in all the mp3 files of your specified directory, but ignore all the other file types. One way of doing that is through the way of globbing .
Read in all the files for now, and put them into a List, that’s it for this section already.
        // Step 2: Files

        List<Path> mp3Paths = new ArrayList<>();

        try (DirectoryStream<Path> paths = Files.newDirectoryStream(mp3Directory, "*.mp3")) {
            paths.forEach(p -> {
                System.out.println("Found : " + p.getFileName().toString());
                mp3Paths.add(p);
            });
        }
3. Parsing MP3 metadata with an external library
You don’t want to reinvent the wheel when it comes to parsing mp3 metadata, so do a quick google search for something like:
"java mp3 library"and the first link that pops up is to the mpatric/mp3agic Github repository, which tells us that mp3agic can do pretty much anything we need to do, i.e. reading/writing metadata. So we’ll give that a go.
Now how do you add that library to your project? Java libraries come as simple .jar files. So we could simply search for the mp3agic.jar file online, download it and add it to the project. Problems occur, when mp3agic in turn depends on other libraries (so called transitive dependencies). Then you have to make sure to download all these jar files into your project as well.
Hence, dependency management solutions like Ivy, Maven or Gradle were born. But fear not, we are not going to focus on them today, instead we are going the oldschool way of using our IDE to do the right thing for us: IntelliJ lets you search for, download and add dependencies to your project, using an online Maven mirror, but without using Maven itself. Fancy isn’t it?
So inside IntelliJ you want to do the following:
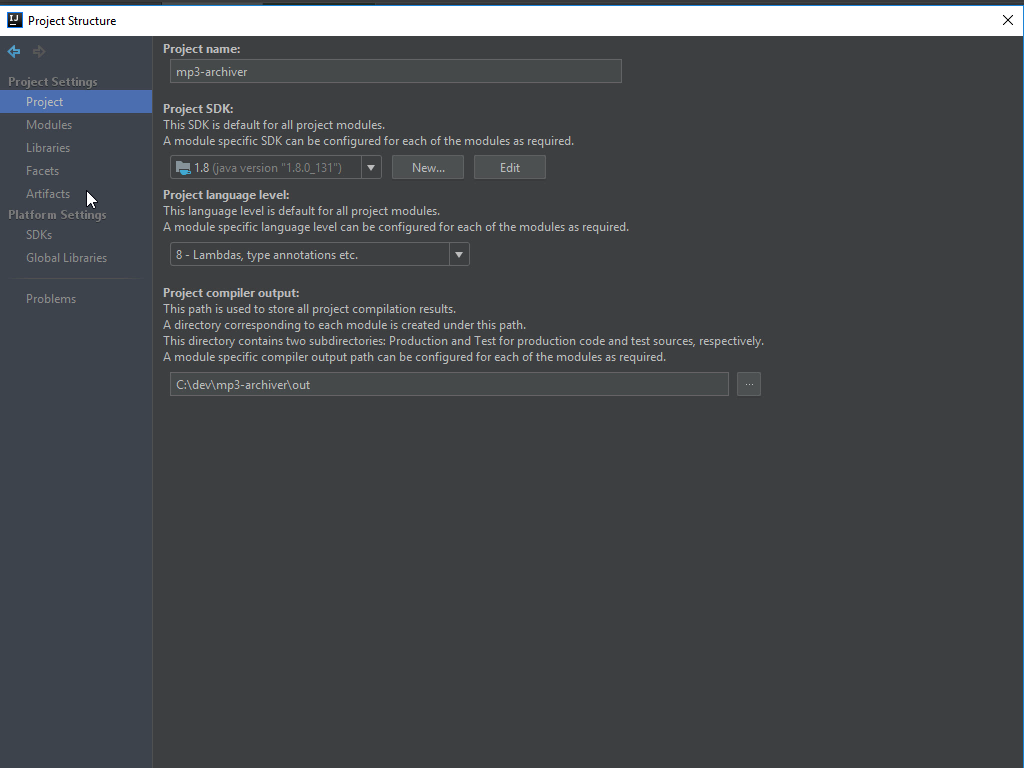
Select your project in the project view (left) > Hit F4 >
In the project structure dialog hit "Dependencies" -> +
Library -> From Maven
Enter "mp3agic" -> Hit Search -> Select the latest version
Or have a look at this gif:

Good, the dependency should now be added to your project. Now it’s time to use it, and again you can quickly double-check the Github repository for examples on how to use it, especially the Opening an mp3 file and Getting ID3v1 values sections.
Then, instead of saving everything into a List<Path> like in the previous challenge, I now want you to convert the Paths into Songs, a new domain class that you need to create as well and which looks like this:
    // Step 3: The Domain Class - Part 2
    public static class Song {

        private final String artist;
        private final String year;
        private final String album;
        private final String title;

        public Song(String artist, String year, String album, String title) {
            this.artist = artist;
            this.year = year;
            this.album = album;
            this.title = title;
        }

        public String getArtist() {
            return artist;
        }

        public String getYear() {
            return year;
        }

        public String getAlbum() {
            return album;
        }

        public String getTitle() {
            return title;
        }
    }
I want you to use streams for that, to get a hook on the Java 8 Stream API watch some videos for better understanding, if you need.
Once you are confident that your program compiles and runs, check out the solution:
        // Step 3: Files -> Domain Classes - Part 1

        List<Song> songs = mp3Paths.stream().map(path -> {
            try {
                Mp3File mp3file = new Mp3File(path);
                ID3v2 id3 = mp3file.getId3v2Tag();
                return new Song(id3.getArtist(), id3.getYear(), id3.getAlbum(), id3.getTitle());
            } catch (IOException | UnsupportedTagException | InvalidDataException e) {
                throw new IllegalStateException(e);
            }
        }).collect(Collectors.toList());
4. Saving Song metadata to the database
Database Access in Java happens through JDBC (Java Database Connectivity). Every major database comes with a JDBC driver, which basically lets your Java program connect to the DB, execute queries, insert stuff etc.
Now the question is, what database to use. You could start out with MySQL, Postgres or Oracle right away, but I want you to meet the small, embeddable H2 database.
It’s a small 1.5MB jar file which you can add to your project and then you have a fully working test database, without having to install anything else. Sounds good?
Then go ahead, and add the H2 library to the project, just like you did with the .mp3 library before.
Here comes the interesting bit: You need to come up with a connection url, to connect to your database. Have a look at the following url:
        // Step 4: Domain Classes -> SQL/Database

        try (Connection conn = DriverManager.getConnection("jdbc:h2:~/mydatabase;AUTO_SERVER=TRUE;INIT=runscript from './create.sql'")) {
}-
jdbc:h2:~/mydatabase → Open up an H2 database, in my ~ (home) folder and save it to a file called mydatabase (or multiple files with that prefix)
-
AUTO_SERVER=TRUE → Let multiple clients connect to this database at the same time, else this is a single connection (you’ll find out why this is important later on)
-
INIT=runscript from './create.sql' → when you startup the database, that means on every run of your program, run a file called create.sql
That’s right, our database is empty! And it should have a table to let you store your Songs. Create a file called create.sql, and put it into your project folder.
It can look like this:
create table IF NOT EXISTS SONGS  (
    id bigint auto_increment,
    artist varchar(255),
    year varchar(255),
    album varchar(255),
    title varchar(255)
);


delete from SONGS;
Yes, everything’s a varchar(255),but we’ll talk about column types in later parts of this guide. The delete line at the end will make sure, that you have an empty database every time you run the program. If you don’t want that, skip it.
Alright, you have the database table, you also know how to get a connection to the database, now it’s time to create a PreparedStatement and do a batch insert of all of your Songs into the database. If you are unsure about how to do that, read up on it here.
Only after you have attempted to do this, check out the solution:
        // Step 4: Domain Classes -> SQL/Database

        try (Connection conn = DriverManager.getConnection("jdbc:h2:~/mydatabase;AUTO_SERVER=TRUE;INIT=runscript from './create.sql'")) {
            PreparedStatement st = conn.prepareStatement("insert into SONGS (artist, year, album, title) values (?, ?, ?, ?);");

            for (Song song : songs) {
                st.setString(1, song.getArtist());
                st.setString(2, song.getYear());
                st.setString(3, song.getAlbum());
                st.setString(4, song.getTitle());
                st.addBatch();
            }

            int[] updates = st.executeBatch();
            System.out.println("Inserted [=" + updates.length + "] records into the database");
        }
5. Booting up a simple web server from inside your jar
You have come a long way already. You specified a directory, read in all its mp3 files, parsed the metadata and saved it to the database. Now it’s time to display that data to the user, in a browser. And in the Java world everything Web related has to do with servlets (not everything, but the notion will do for now).
So your main task is to write a servlet, which you can then register under a certain path like /songs with a web server like Jetty or Tomcat. And then you boot up your Jetty server on a specific port like 8080 and your users will be able to open up a browser and see a nice little HTML page of your mp3s!
As you might have guessed, you need to add a couple more dependencies to the project. By now you should know how, so add a dependency for jetty-servlet to the project, which in turn will pull in a ton of other transitive dependencies. Now the fun thing about Jetty and Tomcat is, that you can easily embed them into your Java program, no need to install anything. And you do it like this:
        // Step 5 : Start HTTP Server - Part 1

        Server server = new Server(8080);

        ServletContextHandler context = new ServletContextHandler(
                ServletContextHandler.SESSIONS);
        context.setContextPath("/");
        context.setResourceBase(System.getProperty("java.io.tmpdir"));
        server.setHandler(context);

        context.addServlet(SongServlet.class, "/songs");
        server.start();

        if (Desktop.isDesktopSupported()) {
            Desktop.getDesktop().browse(new URI("http://localhost:8080/songs"));
        }
The important bits are:
-
You open up a web server on port 8080
-
You register a servlet, called SongServlet.class under the path /songs
-
You start the embedded Jetty Server
-
And then you check if your program is running on a desktop, and if that’s the case, you open up a browser on localhost:8080/songs!
Just a couple of lines, and your program has a full blown, embedded web server run.
But wait, isn’t there something missing? Yes, it’s the SongServlet.class which does the heavy lifting!
    // Step 5 : Write a servlet  - Part 2
    public static class SongServlet extends HttpServlet {

        @Override
        protected void doGet(HttpServletRequest req, HttpServletResponse resp) throws IOException {
    }
}
As you can see, your class needs to extend the HttpServlet class. Which in turn lets you override a method, doGet, which is the method which responds to HTTP GET calls (from your browser) on the path your servlet is registered to.
There’s many ways this servlet could look like, but the simplest is to build an HTML string and simply write it to the servlet’s writer, like so:
            String string = "<html><h1>Your Songs</h1><table><tr><th>Year</th><th>Artist</th><th>Album</th><th>Title</th></tr>" + builder.toString() + "</table></html>";
            resp.getWriter().write(string);
As you can see, this really is just a plain old string, which contains the HTML for a full page, including a table displaying all your song metadata. And the only thing that’s left to do is to create the individual table rows.
What’s more, you obviously need to connect to your database again and issue a select statement, to get the song metadata out of your DB again. You open up the connection like so (and make sure you use the SAME database name, that you used during the insert step, i.e. mydatabase in this case):
try (Connection conn = DriverManager.getConnection("jdbc:h2:~/mydatabase")) {You might have noticed that the connection string looks a bit different than before, and if you are wondering why that is the case, hit this icon:
Otherwise, it’s now time to do a JDBC select, return all the rows of the SONGS table, and turn them into <tr></tr> strings. Each row will look something like this:
<tr><td>2000</td><td>Limp Bizkit</td><td>Chocolate Starfish</td><td>My Generation</td></tr>If you are unsure about using JDBC to execute selects, read up on it here.
Take your time to solve this part and if you have a working solution, compare it with this:
    // Step 5 : Write a servlet  - Part 2
    public static class SongServlet extends HttpServlet {

        @Override
        protected void doGet(HttpServletRequest req, HttpServletResponse resp) throws IOException {
            StringBuilder builder = new StringBuilder();
            try (Connection conn = DriverManager.getConnection("jdbc:h2:~/mydatabase")) {

                Statement st = conn.createStatement();
                ResultSet rs = st.executeQuery("select * from SONGS");

                while (rs.next()) {
                    builder.append("<tr class=\"table\">")
                            .append("<td>").append(rs.getString("year")).append("</td>")
                            .append("<td>").append(rs.getString("artist")).append("</td>")
                            .append("<td>").append(rs.getString("album")).append("</td>")
                            .append("<td>").append(rs.getString("title")).append("</td>")
                            .append("</tr>");
                }
            } catch (SQLException e) {
                e.printStackTrace();
            }

            String string = "<html><h1>Your Songs</h1><table><tr><th>Year</th><th>Artist</th><th>Album</th><th>Title</th></tr>" + builder.toString() + "</table></html>";
            resp.getWriter().write(string);
        }
    }
6. Taking a test run
Time for testing! So far, you have been hustling to get this program to work. Now it’s time to run the main method. Right click it and run it, or hit Ctrl+Shift+F10. What happens? That’s right, you should get a validation error message, because you failed to specify a directory as program argument.
Edit the IntelliJ configuration of your "Main" class and specify the directory of your choice as program argument. Run the program again, and if everything is working correctly you browser should pop-up after a couple of seconds and display something like this:

You made it! But wait, there’s a bit off cleanup todo, because you are now able to run the program from inside your IDE, but as a final step you need to package it up as a .jar file, so you can run it on any machine you want, not just from your IDE!
7. Building your final, executable .jar
Some people think that building an executable jar is only something that tools like Maven or Gradle can do. But fear not, IntelliJ can do the same thing, without a lot of hassle. Again the project structure dialog is your friend:
Hit F4 in the project view on the left
Artifacts -> +
Jar -> From Modules With Dependencies
Choose your Main Class -> Hit OK 2x
Or have a look at this gif:
At this point in time you can now click the "Build" menu in IntelliJ, hit "Build Artifacts" and you will get a .jar file in the /out/artifacts/ folder of your project. And that is the .jar file that you are able to run, just like in the first .gif of this guide.
So open up a command line window, go to that directory, and try to run your .jar file…..
Wait, what’s the problem? Are you getting an exception? Duh, that’s because the program is now dependent on the create.sql script to be in the same directory as your .jar file, whenever you execute the program.
So there’s two things for you to do:
-
Copy the create.sql script to that out/artifacts folder and run your program again, to finally pat yourself on the back!
-
Think about how to move the create.sql file INSIDE the .jar file and how that could possibly work. Leave a comment in the comment section on your solution.
Congratulations If you have come this far, you have made it work! Good work!
If you need professional help
I created a video walkthrough of this guide, that takes you step by step through the exercise. Check out Intermediate Java - A Learning Path - Part 1.
Fin
What you learned
Phew, this guide was quite a ride. To sum up you learned the following skills:
-
A couple of core Java skills (like using the Paths API and Streams)
-
Using JDBC to connect to databases
-
How to use IntelliJ to use external libraries, as well as build runnable artifacts of your program
And hopefully you had a bit of fun along the ride!
What’s next
As mentioned before, this was just the beginning. In the next parts, you will learn, step-by-step, about improvements that can be made to this program.
-
You will learn how you could use Maven to manage dependencies/build artifacts instead of plain IntelliJ.
-
You will learn why and how to use connection pools for databases
-
You will learn how to Springify this project, so you can replace the Servlet with something more convenient, and access the database easier
-
And much more :)
Stay tuned for Part 2, thanks for reading and if you have any questions or comments, leave them in the comment section below!
There's more where that came from
I'll send you an update when I publish new guides. Absolutely no spam, ever. Unsubscribe anytime.
Comments

let mut author = ?
I'm @MarcoBehler and I share everything I know about making awesome software through my guides, screencasts, talks and courses.
Follow me on Twitter to find out what I'm currently working on.